Sorry for the radio silence the past couple of weeks, Jazzie cat went missing before Easter so we have been busy trying to track her down and not had time to write posts (or do anything on the house to write about!). She is back home safe and sound now, she wandered back in filthy and hungry but otherwise fine. Here she is modelling the new floor that this post is all about!

If you follow me on instagram (I'm @itsagreenhouse if you don't) you will already have seen the kitchen tiles, but here's how it all went down!

If you follow me on instagram (I'm @itsagreenhouse if you don't) you will already have seen the kitchen tiles, but here's how it all went down!
Lets talk first about what we chose. We decided to go for underfloor heating in the kitchen because it meant that we could have units all around the room and not have to leave space for a radiator. It also is a large tiled room and the underfloor heating should work efficiently in there. I couldn't seem to find too much definitive research on whether electric underfloor heating is more or less efficient than a radiator, it seems to be about comparable depending on how efficient your boiler is, how new the radiators are, how big the room is etc etc. Our boiler is on its last legs so until that is replaced we probably won't be able to compare the efficiency but the kitchen is our tester for underfloor heating so we will report back! Cost wise the kit wasn't very expensive (around £350 for this size room), and although we didn't pay an electrician to connect it it didn't take my brother long so shouldn't be an expensive job. Minty is modelling the layout of it for you below...

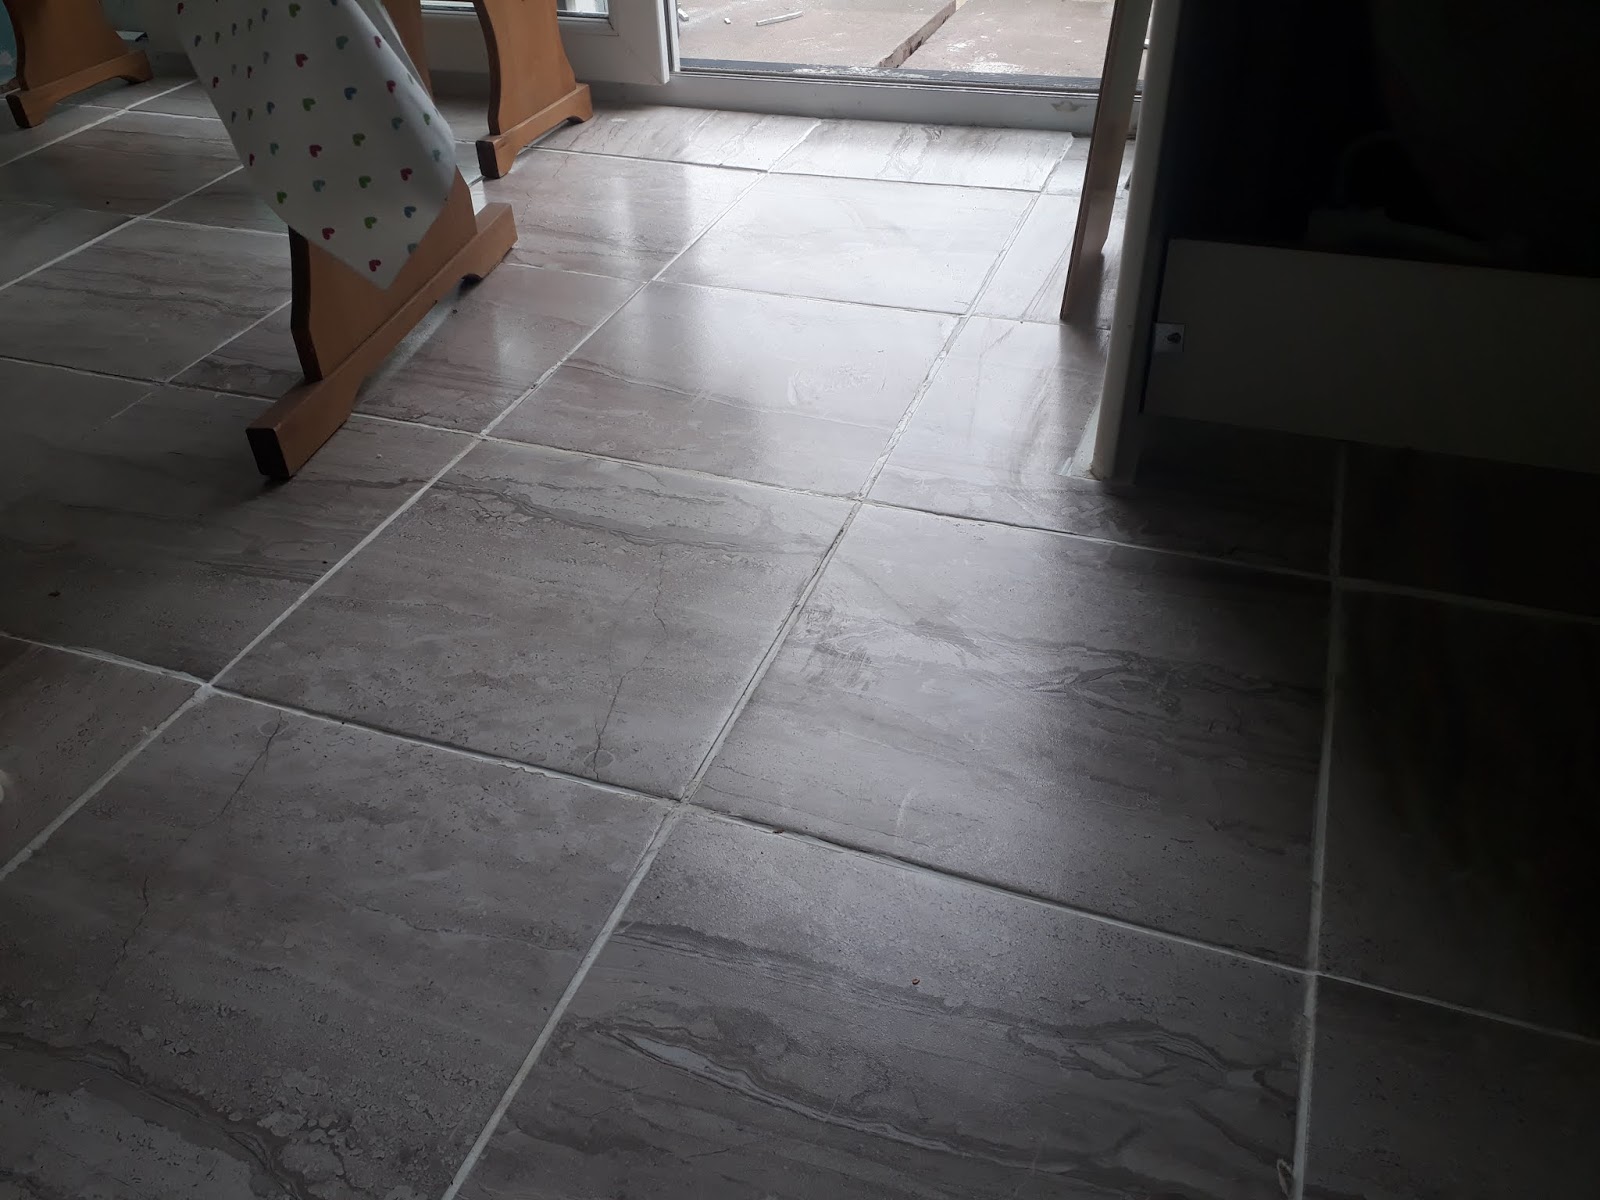
Tile wise I wanted quite a large plain tile as I felt anything too patterned or small would feel too busy in this large a space. The general look I am going for in the kitchen is simple, bright, airy and clean, so these grey tiles fit in with that nicely. I also didn't want anything too high shine as that feels like a lot of cleaning to keep looking good and we have cats (and may get a dog) so the paw prints in from the patio doors would be a lot to maintain. The effect on these makes for easier maintenance as not every speck of dust or paw print is visible right away. We went for a white grout as it looks better with the light tiles, a darker colour may be easier to maintain, but we can always reseal the grout every so often or regrout to darker if it becomes difficult.

We bought a kit for the underfloor heating and laid it ourselves. Tom laid the wires on his day off, and my brother hooked it all up (you need an electrician to do this). It was all pretty straightforward, although did add another step to the flooring installation. We have it wired in next to the boiler in the cupboard, at the moment it just comes on when our heating comes on but it will have an independent thermostat fitted soon as well so that we can set timers and temperatures independently if we want to.

Tom just followed the instructions and laid the wires in a pattern so they weren't too far apart, otherwise you will have cold spots. We didn't use the insulation boards below the heating wires, as they were being laid onto an existing tiled floor, but you can get boards to put underneath to help the heat be directed upwards.
We then laid the tiles directly onto the heating wires. You can use a self leveller underneath or over the wires if you need to, in some areas I actually wish we had as the floor was less level for tile laying than we thought, but we didn't as we didn't want to block any heat coming through. Its not the end of the world but it just made laying the tiles a little trickier and some of them are not 100% level. I don't think anyone else would notice but I know they are there. When we do the bathroom this is something I will bear in mind for sure!

Tom has done some tiling before helping his dad, but we are by no means experts. There are plenty of tutorials online of how to do this better than we did, so I'm not going to pretend to be able to tell you how to tile your floors after our total guesswork, but there are a couple of tips I learnt if you are a total beginner!
The first thing is that this is totally achievable as a DIY job, especially if you don't have lots of awkward corners or shapes and the tiles aren't a funny shape or detailed pattern which needs to match up. I found laying the tiles quite easy its just a case of applying the adhesive, and making sure they are level and straight using the tile spacers. If neatness is not your strong suit (it is not mine) it may be worth getting someone to help with keeping them straight, Tom laid the first few lines straight and I could then go off of those using the spacers to keep them in line (we did this over a couple of evenings).

Use plenty of adhesive, there are a couple of tiles we had to re lay and one actually cracked after they were laid so we didn't use enough underneath them. Make sure to use plenty of adhesive so the whole of the underneath of the tile is covered with a good layer.
Get a wet saw for cutting. Tom has done tiling before and this was the only thing he was insistent we had to get. It makes cutting the tiles so much easier and only cost us £35. We can probably sell if on second hand once all our tiling is done as well. Just be careful operating it as with any power saw.

One thing we actually did well was the cutting, Tom was so good at it! I was less good at this part (measuring and maths is NOT my strong suit!), so we had a system that he cut the tiles and I laid them, which sped things up nicely. Go slowly with the cutting and be conservative, you can always take more off but you can't add it back on.

Grouting is also covered extensively online but Tom found it pretty simple, I scrubbed off any excess with my usual scrubbing brush.
There we are, one tiled kitchen!


All that is left in here is to put up the hob extractor, add open shelving by the sink, add on the upstands at the backs of the counters (there are some gaps where the walls aren't straight), add skirting boards and add on one last bit of finish to one cabinet. Unfortunately there wasn't quite enough with the kitchen delivery so we had to order more and the fitter had left by the time it arrived so we will just add that ourselves.
Then we can get onto nice things like hanging art and a clock, and getting a new (new to us at least) toaster, kettle etc as we have had all of ours for at least 10 years!
Then we can get onto nice things like hanging art and a clock, and getting a new (new to us at least) toaster, kettle etc as we have had all of ours for at least 10 years!
Comments
Post a Comment